Connect to a data source
Last updated
Was this helpful?
Last updated
Was this helpful?
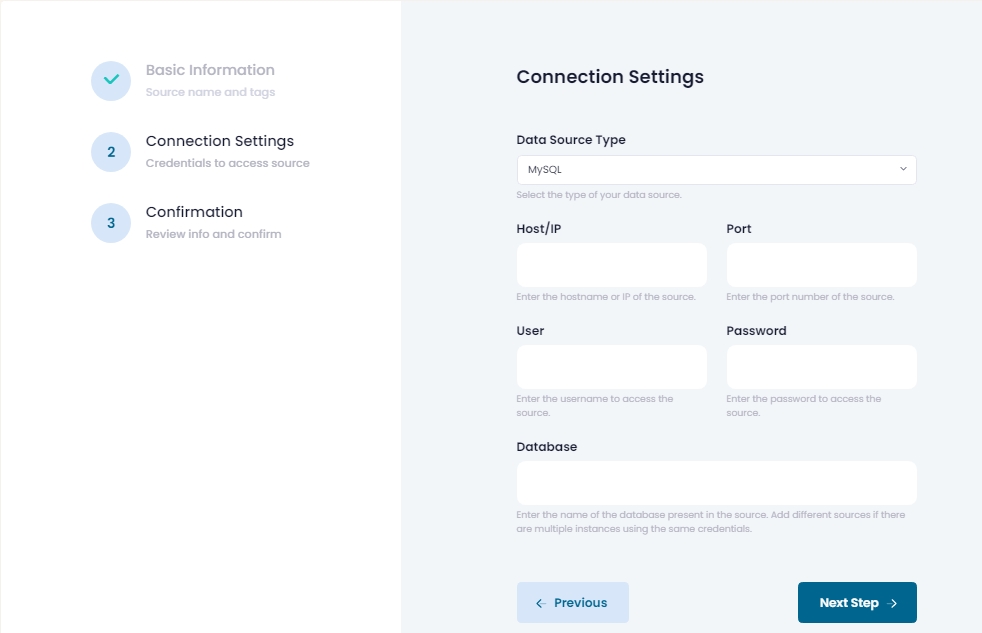
To connect to a data source, you're going to need it's connection credentials, which vary according to the connection type. These usually include the host IP, port, username, password, database name and schema name. You can check our reference for a list of supported data sources and their required connection credentials.
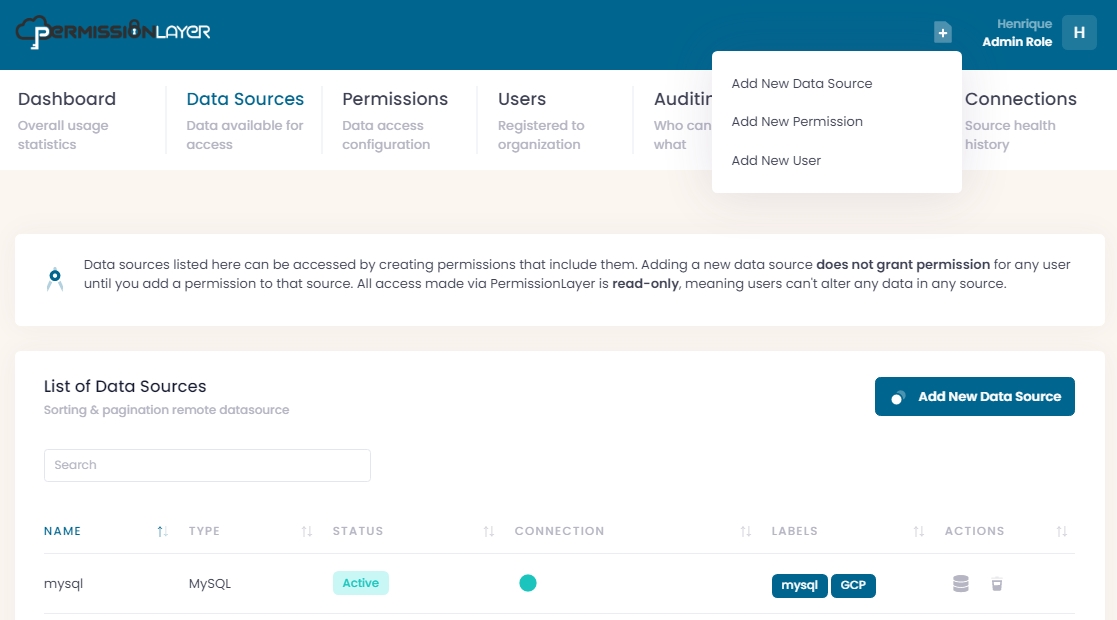
To connect a data source, you have to take the following steps: 1. Click on Add New Data Source 2. Add basic information 3. Enter connection credentials 4. Confirm 5. Data source is now on your list
You can find the button either at the Data Source list or by clicking on the Create menu.
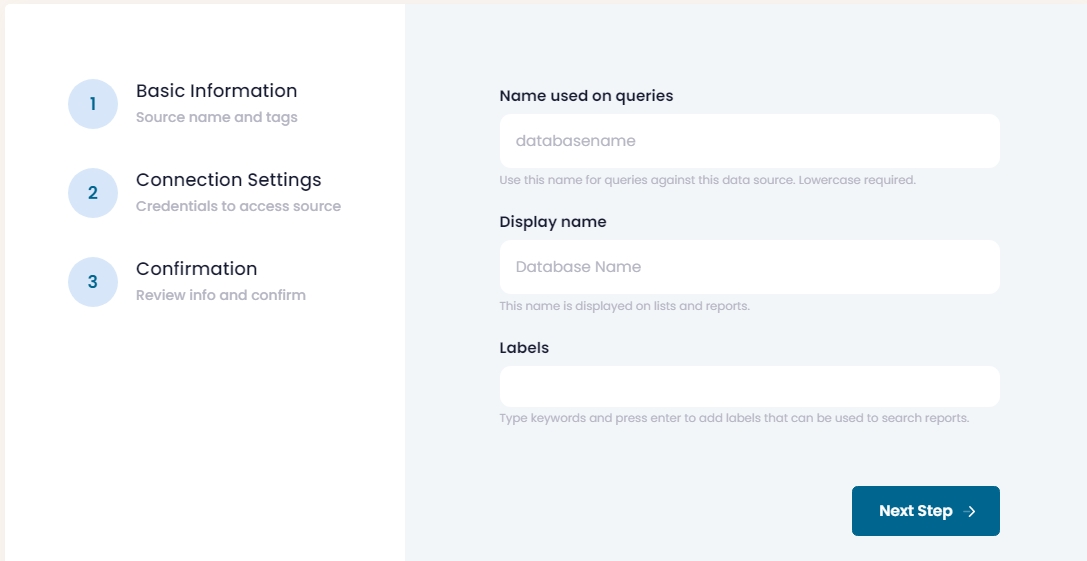
This includes:
Name used on queries: this lowercase name will be used in queries against this data source made by all users trying to access data via PermissionLayer. For example, if you use databasename, your query can be:
If you are currently using this source to perform queries in any tools, we strongly suggest using the same name, so your queries work without properly without any changes.
Display name: choose a name that is easier to read for this data source. It will be shown all over your PermissionLayer control panel.
Labels: enter one or more words to create a label. Add as many labels as you want to your data sources. You can use labels to search for specific sources in any PermissionLayer report.
Choose a data source type. This will show the proper form with the necessary credentials for that data source.
Be sure to whitelist PermissionLayer on the data sources you're planning to connect.
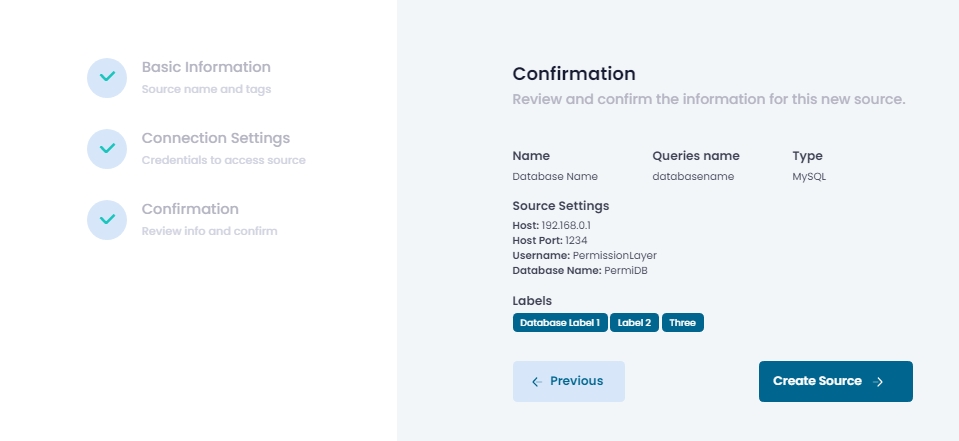
All information you entered for this source will be shown, so you can confirm it's all good. Click on Create Source and PermissionLayer will validate your credentials. If your data source accepts the connection, he source will be created and shown on your Data Source List.
It's status will be shown as Active while it is available for use via PermissionLayer. You can also edit or delete sources.


