Set a permission
To set a permission, you'll need at least one active data source. You might want to add a data source before reading on.
To set a permission, take the following steps:
Click on Add New Permission
Add basic information
Define security settings
Set allowed data
Confirm
Permission is now on your list
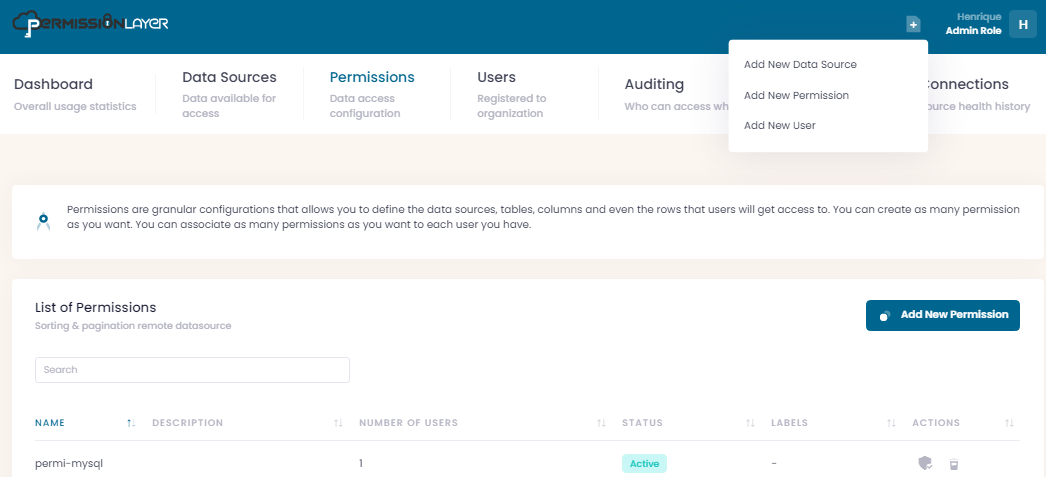
1. Click on Add New Permission
You can find the button either at the Permission list or by clicking on the Create menu.
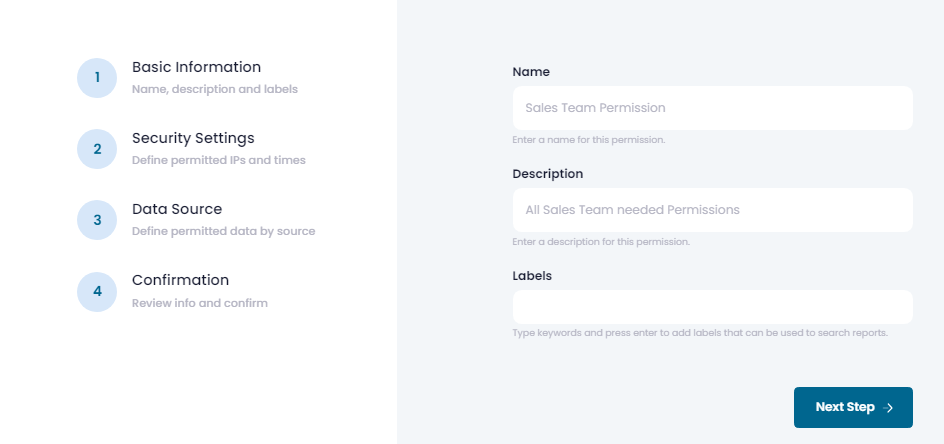
2. Add basic information
This includes:
Name: lowercase name of this permission that will be shown in lists and when assigned to users.
Description: a brief description of what is the intention of creating or assigning this permission to a user.
Labels: enter one or more words to create a label. Add as many labels as you want to your permissions. You can use labels to search for specific permissions in any PermissionLayer report.
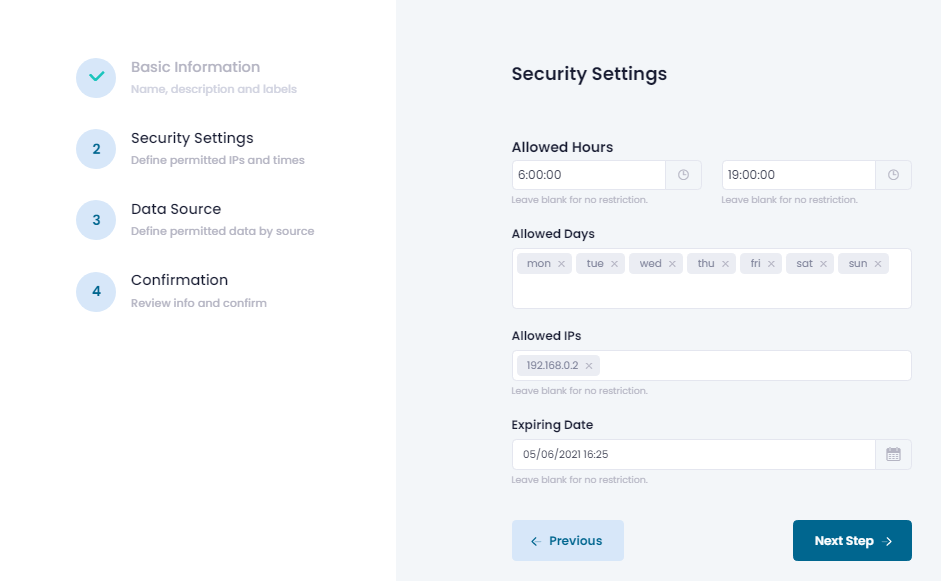
3. Define security settings
These setting define when and where users can access data using their PermissionLayer credentials. All settings are optional. They include:
Allowed Hours: interval of a day during which queries are accepted. Usually related to the user's or organization's working hours. Times are in UTC. Leave blank for no restriction.
Allowed Days: days of the week during which queries are accepted. Use three-letter abbreviations (such as
wed) to add any weekday you need.Allowed IPs: list of IPs that are whitelisted for access by users assingned this permission. Leave blank for no restriction.
Expiring Data: choose a date and time. After the selected moment, this permission will expire, meaning users assigned this permission will no longer be able to query the defined data. Other permissions assigned to the same user will work normally.
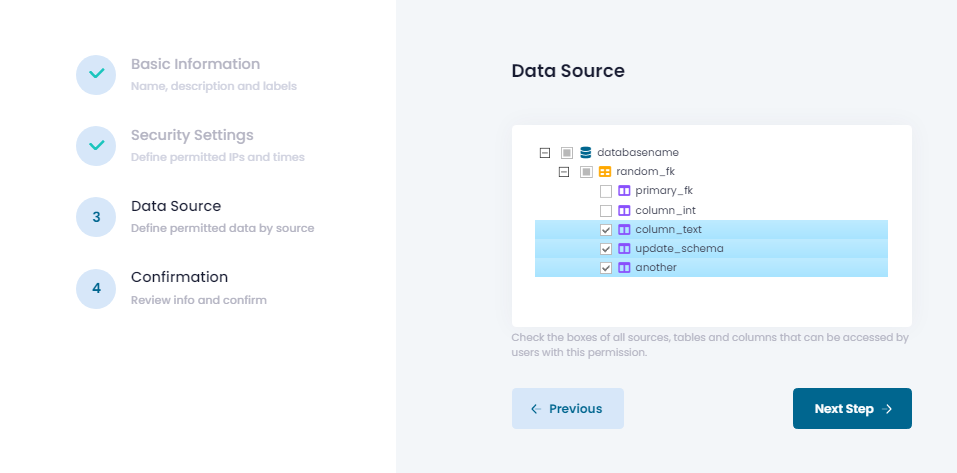
4. Set allowed data
This treeview will show all your data sources. You can choose specific sources, tables and columns. The selected data will be accessible by users that are assigned this permission. Keep in mind you can create as many permission as you need. You can also assign multiple permissions to the same user.
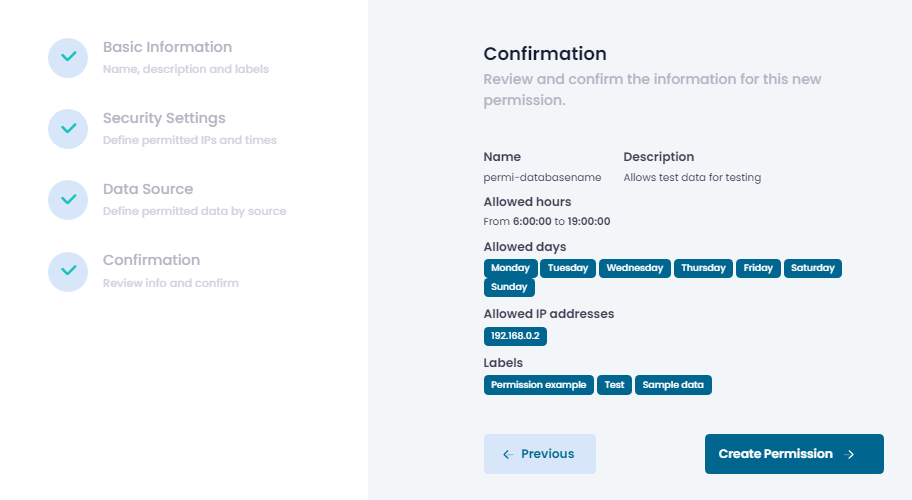
5. Confirm
All information you entered for this permission will be shown, so you can confirm it's all good. Click on Create Permission and the created permission will be shown on your permission List.
6. Permission is now on your list
You can see how many users are assigned each permission in this list. You can also edit or delete permissions:
You must edit a permission if you wish to add row-level filters

Last updated